Problem
During the install of an application on a 64-bit Windows machine, the application was unable to list the ODBC System DSN because it had been setup as a 64-bit DSN and the application needed a 32-bit system DSN for connectivity to SQL Server. In this tip, we cover how to create a 32-bit DSN on 64-bit machine.Solution
Before creating the DSN make sure the SQL Server Native client component is installed on the machine. You can install the SQL Server native client either from the SQL Server media or by downloading it from http://www.microsoft.com/download/en/details.aspx?id=16978.Below are the steps to create a 32-bit DSN on a 64-bit machine.
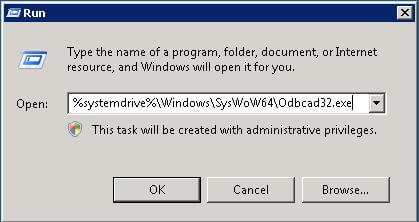
Step 1On the 64-bit machine where the application is installed, open the Microsoft Windows ODBC Data Source Administrator using one of the methods shown below.
Open C:\WINDOWS\SYSWOW64\odbc32.exe or type %systemdrive%\Windows\SysWoW64\Odbcad32.exe in the Run window.
Step 2
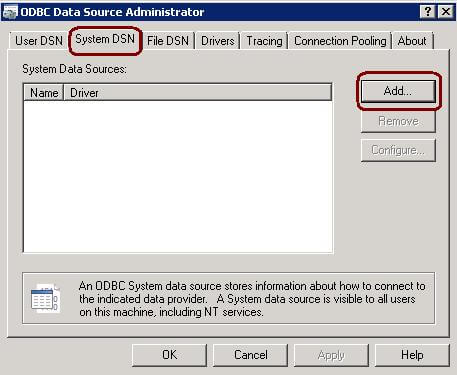
Select the System DSN tab and click on the Add... button.
Step 3
Select the SQL Server Native Client 10.0 from the list and click on the Finish button.

Step 4
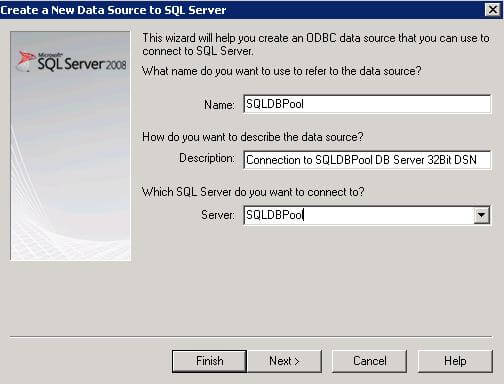
Specify the data source name, description and the SQL Server instance name. Click Next to proceed.
Step 5
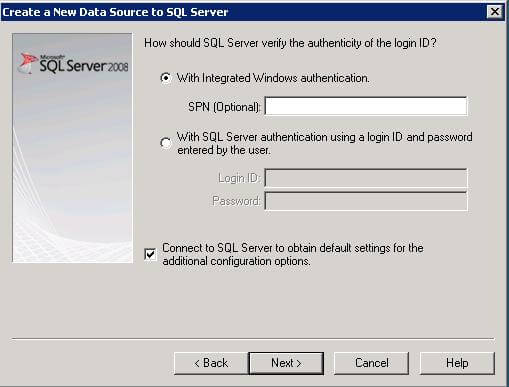
Select the authentication mode as per the requirement. For SQL authentication, specify the SQL login name and password. Click Next to proceed.
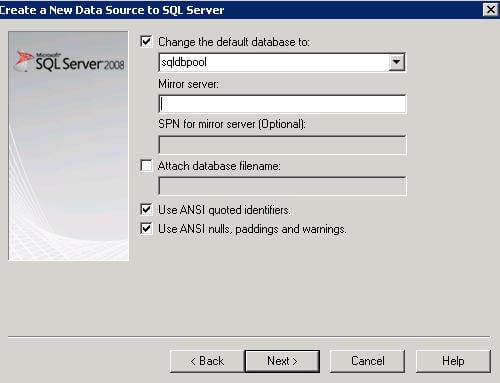
Step 6
Select the desired application database from drop down list and click Next.
Step 7
Click on Finish and test the data source connectivity.

Next Steps
- Document the DSN details for the application connectivity
- As you may have noticed, the real trick is running the 32-bit version of the ODBC Data Source Administrator